If you’ve ever dreamed about living in a tropical paradise, the Philippines might be the perfect place to start a new chapter. It’s a country of warm, welcoming people, stunning islands, and laid-back living. The cost of living is affordable compared to many Western countries, and everyday life moves at an easy pace. Locals are friendly, English is widely spoken, and the culture is open and vibrant, making it one of the most comfortable destinations in Southeast Asia for expats and retirees alike.
Before you commit to this significant life decision, it is essential to ground your expectations in reality. If you haven’t yet, first go and visit the Philippines, spend at least a few weeks traveling around the country to gain a true feel for the pace of life, the infrastructure, and the daily challenges. You may also consider traveling to and experiencing other popular Southeast Asian expat countries, such as Thailand, Vietnam, Malaysia, or Indonesia, to see which environment truly fits your lifestyle, budgetary requirements, and personal comfort level.
Whether you plan to stay short-term or settle permanently, here’s a practical checklist to help you prepare before and after moving to the Philippines.
1. Visa Requirements
Most nationalities, including U.S. citizens, can enter the Philippines visa-free for 30 days. Before traveling:
- Make sure your passport is valid for at least six months beyond your stay.
- You’ll need a return or onward ticket upon entry.
- Complete your eTravel registration online within 72 hours before arrival. It’s free to register, and you’ll need to present your QR code to immigration officers when you arrive in the Philippines. https://etravel.gov.ph/
1.1 Visa Extension
Extending your stay in the Philippines as a tourist is a common and straightforward process, but it comes with a predictable schedule of fees. While the initial 30-day entry is typically free for many nationalities, maintaining a long-term legal status requires submitting multiple visa extensions to the Bureau of Immigration (BI). The overall cost is manageable but peaks during the first year due to a mandatory identity card fee. Tourists should budget for the first year’s total cost of approximately PHP 34,680.00 (USD 596.90), and a recurring annual expense of roughly PHP 31,620.00 (USD 544.23) for continuous residency. Visa extension price list
Summary of Philippines Tourist Visa Extension Costs (Adult) as of October 2025
| Average Monthly Cost (First Year) | 2,890.00 php | 49.74 usd |
| Total Yearly Cost (First Year) | 34,680.00 php | 596.90 usd |
| Total Yearly Cost (Recurring) | 31,620.00 php | 544.23 usd |
Key Notes on the Costs
The fees listed above, based on two-month extension cycles, include a variety of mandated administrative charges from the Bureau of Immigration (BI):
- ACR I-Card Fee: The reason the First Year cost is higher is that it includes the initial fee for the Alien Certificate of Registration Identity Card (ACR I-Card). This mandatory identity card is required for foreigners staying more than 59 days.
- Recurring Fees: The “Total Yearly Cost (Recurring)” reflects the charges for successive two-month extensions, which include the base extension fee, application fee, legal research fee, and typically the Express Lane Fee for expedited processing.
- Maximum Stay: Most non-visa-required nationals can extend their tourist status for a cumulative maximum stay of 36 months (3 years) before they are required to exit the country.
1.2 Long-Term Residency and Employment Options in the Philippines
For individuals planning to establish long-term residency in the Philippines, whether for employment, retirement, investment, or family reasons, several dedicated visas eliminate the burden of continuous tourist extensions.
| Visa Type | Primary Purpose | Key Financial Requirement | Residency Status |
| 9(G) (Pre-arranged Employee) | Legal Employment in a PH Company | Employment contract and required Alien Employment Permit (AEP) | Non-Immigrant (1-3 years, renewable) |
| SRRV (Special Resident Retiree’s Visa) | Retirement, Indefinite Stay | Deposit of USD 10,000 to USD 50,000 (varies by age/pension status) | Indefinite Stay / Multiple Entry |
| SIRV (Special Investor’s Resident Visa) | Investment in Philippine Businesses | Minimum investment of USD 75,000 in approved sectors | Indefinite Residency (as long as investment is maintained) |
| 13A (Immigrant Visa by Marriage) | Spouses of Filipino Citizens | Proof of financial stability (no large deposit required) | Permanent Residency (after a 1-year probationary period) |
The complexity of these application processes, which involve multiple government agencies like the Bureau of Immigration (BI), the Department of Labor and Employment (DOLE), the PRA, or the BOI, often requires professional support. For expert guidance in navigating the requirements for the 9(G) work visa, the SRRV, the SIRV, or the 13A Spousal Visa, we strongly recommend reaching out to JRC Visa Consultancy & Immigration Services. They specialize in managing these intricate procedures to ensure a smooth transition to your long-term status in the Philippines.
Guide to Monthly Living Costs in the Philippines (Single Expat, 2025)
The cost of living in the Philippines offers exceptional value, but expectations must be anchored in reality: while it is true that many expats live comfortably well under USD 1,000 per month, this generally involves making compromises on housing location, relying heavily on local transport, and primarily consuming local products. For expats seeking familiar Western amenities, consistent air conditioning, and high-quality private health insurance, a higher budget is essential. The guide below provides a clear, three-tiered expectation of monthly expenses, factoring in your adjusted rent levels to help you prepare.
| Expense Category | 1. Bear Minimum (USD ≈1,000) | 2. Mid-Range Comfort (USD ≈1,600) | 3. Higher-End (USD 2,000+) |
| Rent (1BR Apartment/Condo) | USD 300 | USD 500 | USD 700+ |
| (PHP Equivalent) | (PHP 17,430) | (PHP 29,050) | (PHP 40,670+) |
| Food & Dining | USD 250 (Local markets, carinderias, dining) | USD 350 (Mix of home cooking, mid-range dining) | USD 450 (Frequent international/upscale restaurants) |
| Utilities, Phone & Internet | USD 150 (Moderate A/C, good fiber internet) | USD 220 (Regular A/C, fastest fiber, full mobile plan) | USD 300 (High A/C, premium digital subscriptions) |
| Health Insurance | USD 50 (Dedicated private plan, 1M php coverage) | USD 130 (Dedicated private plan, 5M php coverage) | USD 150 (Highest-tier comprehensive coverage) |
| Local Transportation | USD 50 (Public transport, occasional Grab) | USD 50 (Mostly Grab/Ride-Sharing) | USD 100 (High Grab usage, occasional driver/taxi) |
| Visa Cost (Avg. Monthly) | USD 50 (Monthly equivalent of annual extension fees) | USD 50 | USD 50 |
| Leisure/Travel/Contingency | USD 250 (Hobbies, local trips, cinema, savings) | USD 300 (Gym, bars, domestic travel fund) | USD 950 (Frequent regional travel, luxury leisure, high savings) |
| TOTAL MONTHLY | USD 1,000 | USD 1,600 | USD 2,700+ |
Notes on Categories
- Bear Minimum (USD 1,000): This budget is achievable by renting a smaller unit outside prime Metro Manila centers, actively cooking local ingredients, and limiting electricity usage. It requires discipline but allows for a comfortable, simple life.
- Mid-Range Comfort (USD 1,600): This level affords an excellent quality of life: a modern condo, diverse dining options, and freedom to travel domestically 2-3 times a year. This is the sweet spot for most digital nomads and retirees.
- Higher-End (USD 2,000+): This allows for luxury living, including prime location rent (Makati/BGC), a car/driver, frequent international dining, and significant savings or heavy spending on expensive hobbies like golf or diving.
2. Keeping Your U.S. Phone Number
If you’re moving from the U.S., one smart step is to port your phone number to Google Voice.
- The one-time cost is $20, and it allows you to make and receive calls and SMS messages over the internet.
- This is especially useful for receiving two-factor authentication texts from your bank or online services.
- Should you decide to return to the U.S., this number can be seamlessly ported back to any major U.S. carrier.
The Official Steps to Port Your Number:
- Open Google Voice: Go to the official Google Voice website on a desktop or laptop computer and sign in with your personal Google/Gmail account.
- Access Settings: Click the Settings icon (usually a gear icon) in the top-right corner.
- Initiate Porting: Navigate to the “Account” section. Look for the option that says “Port a number to Google Voice” or “Change/Port.”
- Check and Pay: You will be prompted to enter your mobile number to check its eligibility. If eligible, you will provide your current carrier’s account details (Account Number, PIN/Passcode) and pay the USD 20 fee to complete the request.
This process must be completed while you are still located in the United States and while your mobile service is still active. Once the porting process is fully complete, your service with your U.S. carrier will be automatically canceled.
3. Sending Items to the Philippines
If you need to ship personal belongings, use Balikbayan boxes, a popular and affordable option.
- An extra-large box costs about $100-$110, and there’s no strict weight limit.
- A reliable company to use is LBC, UMAC or FOREX. Delivery typically takes 2.5 to 3 months.
- Avoid shipping large electronics due to voltage differences and possible customs delays.
When preparing for your relocation, adopt a strategy of aggressive downsizing and long-term storage in your home country. You should only transport items that are truly necessary. Assume that any household goods you bring that are easily damaged (like books or vulnerable electronics) are high-risk.
The most efficient and cost-effective method for importing necessities is to maximize your checked luggage allowance on your initial flight and any future annual trips. This is often far more reliable than cargo shipping.
For any remaining items shipped via Balikbayan boxes, significantly increase protection by building an internal reinforcement structure (such as a frame made of thin plywood or sturdy cardboard). This critical step prevents the box from being crushed and protects your more valuable contents during transit and handling.
Finally, understand that moving your items is primarily a one-way commitment. Since it is often costly or impractical to ship goods out of the Philippines, you must be mentally prepared to leave behind permanently anything that does not fit into your checked baggage on your final departure flight.
4. What to Bring (and What Not to)
The standard electric voltage in the Philippines is 220V / 60Hz. Most laptops and phones are dual-voltage and work fine, but other U.S. appliances may require a converter or adapter.
There’s no need to bring large electronic devices, you can buy most things locally. However, it’s a good idea to bring your laptop, quality clothes, and personal items that might be more expensive or harder to find here.
5. Health Insurance
You can easily get private health insurance in the Philippines. Plans are available for all ages, and coverage can include heart attacks, strokes, and cancer after just 30 days.
- Preexisting conditions are subject to a 12-month waiting period, and in some cases, permanent exclusion is possible.
- To get a quote or learn about monthly fees, you can contact Michael Onstad at
[email protected].
6. Banking and Finances
Before you leave, open a Charles Schwab checking account if you don’t already have one.
- The Schwab debit card lets you withdraw cash from ATMs worldwide with no fees, and it refunds any charges at the end of each month.
- To transfer money between your U.S. and Philippine accounts, services like Wise (formerly TransferWise) offer excellent exchange rates and low fees.
Once you’re in the Philippines, you can open a local bank account. PNB (Philippine National Bank) is a common choice for foreigners. In the meantime, you can use Western Union or other international transfer services until your local account is active.
7. U.S. Mailing Address
While living abroad, it’s best to keep a U.S. mailing address, usually at a relative’s or friend’s home.
- Use this address for your IRS correspondence, bank statements, and official documents. Make sure the person can forward important mail or notify you when something arrives.
8. Where to Move and Stay
The most popular places for expats and retirees in the Philippines include:
- Cebu – a balance of city life, beaches, and diving.
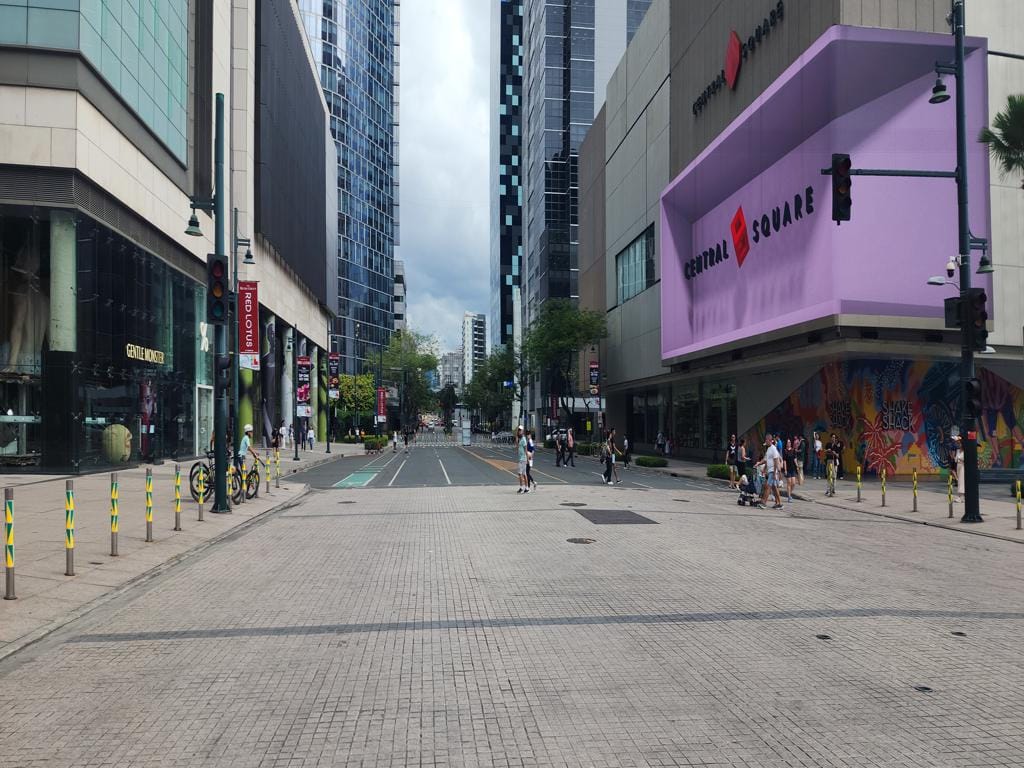
- Manila – the busy capital, ideal for those who enjoy an urban lifestyle.
- Bohol – a peaceful island with a relaxed pace and beautiful nature.
- Baguio – cool mountain air and a cozy small-town feel.
- Tagaytay – known for its scenic views and cooler weather near Manila.
It’s best not to commit to a long-term rental right away. Instead, travel and explore these areas first to get a sense of which lifestyle suits you best.
9. Finding Accommodation
For short-term stays, use Airbnb, Booking.com, or Agoda, they’re convenient, flexible, and often offer monthly discounts.
- Once you’re in the country, you can find long-term rentals through Facebook Marketplace or local housing groups; many owners advertise directly there.
- Also, join foreigner or expat Facebook groups in your area. They’re great for getting advice, finding housing leads, and connecting with other expats or retirees nearby.
10. Transportation in the Philippines
Getting around the Philippines can be both fun and challenging. Public transportation is cheap and widely available, with options like jeepneys, tricycles, taxis, and buses, but traffic in major cities like Manila and Cebu can be intense and unpredictable.
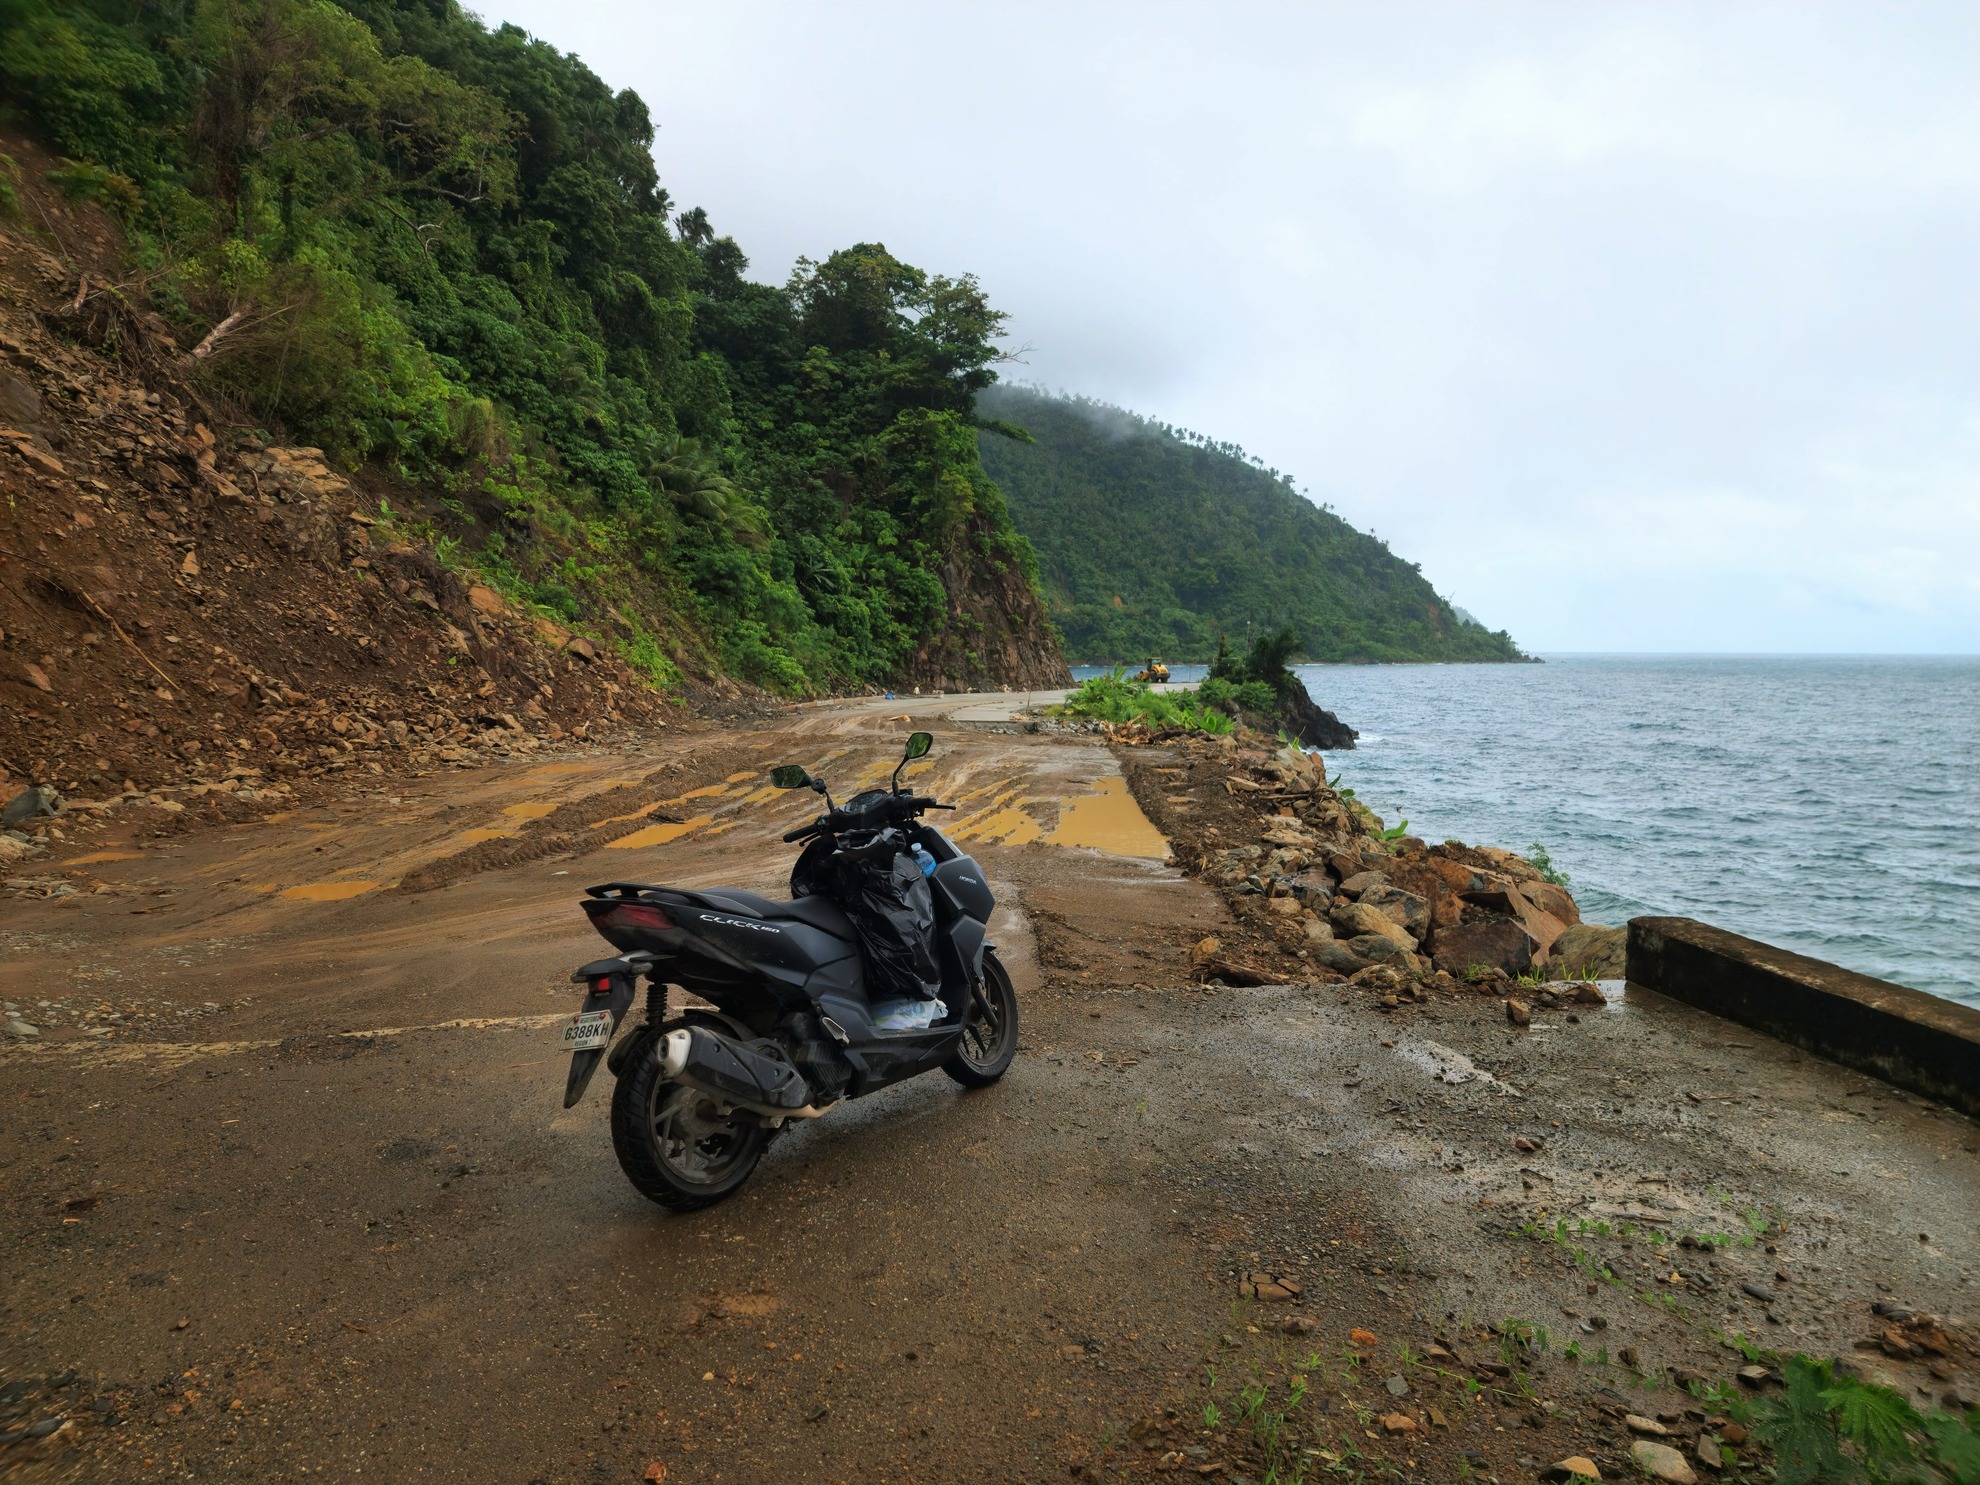
For many expats, the easiest and most flexible way to move around is by motorbike or scooter. It allows you to skip traffic, park almost anywhere, and explore places at your own pace.
If you plan to ride, it’s strongly recommended to take a motorcycle safety course and get your motorcycle endorsement before moving.
Before leaving your home country, make sure to get an International Driving Permit (IDP), it is valid in the Philippines and recognized by local authorities.
- If you already have a valid driver’s license from a country that drives on the same side of the road as the Philippines (right-hand driving), you can usually exchange your foreign license for a Philippine license without taking another exam.
- Otherwise, you’ll need to apply for a new local license once you arrive.
Upon Arrival: Key Steps to Set Up Your Life in the Philippines
Secure and Register Your Local SIM Card
Your first essential task is ensuring reliable communication. Smart Communications is a preferred choice for many due to its widespread coverage and strong data speeds.
- Acquisition Point: Get your SIM card directly at the airport. Major international airports (like NAIA in Manila or MCIA in Cebu) have dedicated kiosks for Smart and other carriers.
- Registration Process: The airport staff know how to complete the mandatory registration process for foreign nationals. They will use your Passport, initial proof of address (your hotel booking), and proof of onward travel to get your SIM activated immediately.
- Saving Money on Data: I recommend choosing a lower data package initially. Once the SIM is registered and active, you can easily manage your data usage and buy “load” (credit) from any 7-Eleven or local sari-sari (convenience) store, which is often cheaper and provides a wider array of budget-friendly local promos. Look for Smart’s Power All or Magic Data packages using their official app.
Tourist Visa Extensions and Residency Documentation
Your initial 30-day visa-free entry (for most nationalities) is the start of your stay. To remain legally in the country long-term, you must follow a mandatory extension schedule with the Bureau of Immigration (BI):
A. First Extension (Extending Stay to 59 Days)
- When to Apply: Apply at a BI office at least one week before your initial 30-day entry stamp expires.
- What it Grants: This first extension typically grants an additional 29 days, extending your total authorized stay to 59 days.
- Estimated Cost: The fee for this initial extension (Visa Waiver Extension) is approximately PHP 4,000.
Tourist Visa Extension Options: Manila Airport and Online Portal
For your convenience, the Philippine Bureau of Immigration (BI) provides streamlined options to secure your first visa extension immediately upon arrival or remotely through their digital platform. Choosing one of these methods will save you a separate trip to a city immigration office.
1. Manila: NAIA Terminal 3 (In-Airport Option)
Manila offers a unique, physical solution for immediate extension after clearing immigration:
| Service Point | BI 24/7 One-Stop Shop |
| Location | NAIA Terminal 3, Level 3 (Departure Area). This office is located after you have passed the arrival immigration checkpoint and customs. |
| Requirements | Passport and approximately PHP 4,060 in cash. |
2. BI E-Services Online Portal (Remote Option)
This is the recommended digital alternative for hassle-free visa management from your hotel or residence:
| Access Point | E-SERVICES.IMMIGRATION.GOV.PH |
| Action | You can apply for and pay for your Visa Waiver (first 29-day extension) remotely. |
| Note | Crucially, use the “Visa Waiver” option for the first 29-day extension. The “Tourist Visa Extension” option is generally for subsequent, longer stays and requires additional documents like the ACR I-Card. |
B. Second Extension (Extending Stay Beyond 59 Days) & ACR I-Card
- When to Apply: Apply at a BI office before your 59-day total stay expires.
- What it Grants: This is usually a 2-month extension (bringing your total cumulative stay to approximately 4 months).
- Mandatory Requirement: Since your stay now exceeds 59 days, you are legally required to apply for the Alien Certificate of Registration Identity Card (ACR I-Card). This is a one-time major fee.
- Estimated Cost & Time: The total bundled fee for the 2-month extension plus the mandatory ACR I-Card is generally around PHP 9,000. Processing typically takes 1 to 2 business days using the express lane, but the physical ACR I-Card itself may take several weeks to be printed and released.
Open Your Local Bank Account at PNB
Once you have received your Alien Certificate of Registration Identity Card (ACR I-Card), you can proceed to open a Philippine Peso (PHP) savings account at a local bank like Philippine National Bank (PNB).
| PNB Account Detail | Requirement | Notes |
| Minimum Maintaining Balance (MMB) | PHP 3,000.00 | This is the verified minimum average daily balance (ADB) required for the basic PNB Debit Savings Account (as opposed to PHP 10,000 for a Passbook Savings Account). Maintaining this balance avoids monthly fees. |
| Required Fee to Avoid | PHP 350.00 per month | This penalty is charged if your Average Daily Balance (ADB) falls below the required MMB for at least two consecutive months. |
| Initial Deposit | PHP 3,000.00 | This is the required amount to open the PNB Debit Savings Account. |
| Foreigner ID Requirement | Valid Passport and ACR I-Card (for stays over 59 days). | The ACR I-Card serves as your primary proof of residency and makes the account opening process much smoother. |
PNB Digital Banking Features
PNB is highly recommended for its modern digital services, which simplify daily financial life:
- PNB Digital App: PNB has a robust online app available for both Android and iOS that allows you to manage balances, transfer funds, and pay bills anywhere you have an internet connection.
- Load Purchases: You are correct; the PNB Digital app supports features like e-wallet top-up and bill payment, which can be used to purchase load for your Smart SIM card, offering a convenient and secure alternative to visiting a store.
- Fund Transfers: The app facilitates instant transfers to other local banks and e-wallets via InstaPay and PESONet.
Once your PNB Debit Savings Account is successfully set up, you can efficiently manage your monthly finances by using Wise (formerly TransferWise) for your foreign remittances.
Funding Your PNB Account via Wise
Wise is a popular choice among expats because it offers highly favorable exchange rates and transparent, low fees compared to traditional bank wire transfers:
- Mid-Market Exchange Rate: Wise uses the real mid-market exchange rate (the rate you see on Google), ensuring you get the most Philippine Pesos for your foreign currency.
- Low, Transparent Fees: Fees are shown upfront and are typically a small, fixed percentage of the transferred amount, saving you money compared to the hidden markups used by many traditional banks.
- Transfer Process: You simply initiate the transfer from your foreign bank account through the Wise app or website, designating your PNB account number and “Philippine National Bank” as the recipient bank.
Converting Your Foreign Driver’s License
If you plan to drive in the Philippines for more than 90 days, you must convert your foreign license to a Philippine Driver’s License at a local Land Transportation Office (LTO) branch.
1. Validity of Foreign Licenses
- 90-Day Rule: Your current valid foreign driver’s license can be used legally in the Philippines for up to ninety (90) days from your date of arrival.
- International Driving Permit (IDP): The Philippines recognizes the IDP, but it must be accompanied by your valid foreign license and is only valid for the same 90-day period.
2. Conversion (Exchange) Process for Valid Licenses
The Philippines generally allows the direct conversion of a valid foreign driver’s license into a Non-Professional Philippine Driver’s License without requiring you to take a written or practical driving test.
| Category | Requirement Summary |
| Eligibility | You must have a valid visa for at least 120 days upon the date of application (long-term residents are strongly favored). |
| Exams Required | None (if your foreign license is valid and the issuing country’s vehicles are Left-Hand Drive, like the U.S. and European countries). |
| Exams Required (Exception) | If your foreign license is expired, or if the issuing country uses Right-Hand Drive vehicles (like Australia, Japan, UK), you must pass the Theoretical and Practical Driving Tests. |
Controversy of the 120-Day Visa Requirement
Here is a crucial tip you must be prepared for: the Land Transportation Office (LTO) strictly requires that you possess a valid visa for at least 120 days upon application to convert your foreign driver’s license. This requirement immediately creates the Controversy of the 120-Day Visa Requirement, as the Bureau of Immigration (BI) typically grants tourist visa extensions in shorter, two-month (60-day) increments.
To address this, do not assume the standard 60-day extension is sufficient. Instead, you must proactively visit your local LTO office and ask them specifically if they still enforce the 120-day rule for license conversion. If they confirm it, visit a major BI office in your area and politely explain your purpose, that the LTO requires the longer validity for your license conversion. In my own experience, the immigration officers were kind enough to call the main Manila BI office to verify the LTO’s requirement. After waiting approximately two hours, my request for the 120-day visa extension was granted specifically for the purpose of securing the driving license.
3. Required Documents Checklist
You must gather the following documents and present both the originals and photocopies at the LTO:
https://ltoportal.ph/convert-foreign-drivers-license-philippines/
⚠ IMPORTANT ADVICE: While the LTO has a standard set of national requirements, local LTO branches (District and Extension Offices) may sometimes have slightly different requirements, processing procedures, or interpretations of which documents need extra copies. It is always highly recommended to stop by your local LTO branch first to ask for their specific checklist and verify what documents are required before you commit to the full application day.
- Application Form: Duly accomplished Application for Permits and Licenses (APL) Form.
- Passport: Original and photocopy of your valid passport (showing your latest date of arrival).
- Residency Proof: Original and photocopy of your Alien Certificate of Registration (ACR I-Card).
- Foreign License: Original and photocopy of your valid foreign driver’s license.
- English Translation: If your foreign license is not in English, you must present an official English translation from your home country’s Embassy or Consulate.
- Medical Certificate: An electronically transmitted medical certificate from an LTO-accredited clinic (cost is typically PHP 300−700).
- TIN: Taxpayer Identification Number (TIN), if you are employed in the Philippines.
4. Timeframe and Cost Estimate
- LTO Fees (Conversion): The basic fee structure for conversion is typically around PHP 685 to PHP 785 (License Fee + Application Fee + Computer Fee + Conversion Fee).
- Total Out-of-Pocket Cost: Expect total costs, including the medical certificate, translation (if needed), and other minor fees, to be between PHP 1,500 and PHP 4,000.
- Processing Time: Processing is generally completed within one day (after submission and payment). However, the final physical license card may be mailed to your address, which can take several days or weeks, depending on the LTO branch.
Pro-Tip: Register for an account on the LTO’s Land Transportation Management System (LTMS) portal online first, as this streamlines the application process and allows you to check for LTO-accredited clinics. https://portal.lto.gov.ph/ords/f?p=1200:HOME::::::


